How to Set Up a Live Photo Wall at Your Party (No Tech Skills Required)

The night is happening right now. Someone's phone is full of the dance floor, someone else has the toast nobody planned, and all of it is scattered across a dozen camera rolls that nobody will ever collect. A live photo wall fixes that on the spot: guests upload from their phones, and the shots appear on the big screen seconds later — the party watching itself unfold in real time.
Here's the good news if "set up a live photo wall" sounds like a job for an AV crew: it isn't. You need a screen, a browser, and a QR code. That's the whole rig. This guide walks you through it step by step — what the wall actually is, how to get it running on any TV or projector in a few minutes, where to stick the QR code so people actually scan it, and how to keep the screen clean once the night gets loud.
No app for your guests. No account for anyone. Let's get the wall live.
What is a live photo wall (and how is it different from a slideshow)?
A live photo wall is a screen at your party that fills up with guest photos as they're uploaded — automatically, in near-real time. Guests scan a QR code, upload from their phones, and within seconds their shot rotates onto the display. No cables passed around, no "send me that one later," no AirDrop scrum.
People use a few names for the same idea, so it's worth untangling them:
- Live slideshow — uploaded photos rotate on screen on a loop, refreshing as new ones land. This is the everyday party version, and it's what most "photo wall" setups actually are.
- Live stream / broadcast wall — the gallery is broadcast live, so people who aren't in the room (or are spread across a big venue) can watch the same feed on their own screens. This is the festival- and big-crowd-grade version.
- Photo mosaic wall — a variant where uploads tile together into one large image or grid. Same upload mechanic, different display style.
With Gathmo, the live slideshow is included on the Celebrate tier (€39) and up, and the live stream broadcast is on the Grand tier (€79). The Free and Essential tiers don't include the live wall — they collect to an album instead — so if the wall is the thing you want on the screen, that's the tier to look at. (Gathmo tier facts: research-foundation/07-gathmo-product-facts.md.)
Why bother with a wall instead of just collecting an album? Because most photos die in the camera roll. Around 70% of camera-phone photos are never revisited — only about 27.8% ever get looked at again in any meaningful way (Popsa, The Memory Economy, 2025). Putting the shots on a screen, live, is the difference between a folder nobody opens and a moment the whole room reacts to.
What you need to set up a live photo wall
You almost certainly already own all of it:
- A screen. A TV, a monitor, a projector, or a laptop pointed at the room. Anything with a browser, or anything you can connect a browser-capable device to.
- A device to run the wall. A laptop, a tablet, a streaming stick, or a smart TV's built-in browser. This is the thing that opens the display link and shows the wall full-screen.
- An internet connection. Wi-Fi for the display device, and mobile data or Wi-Fi for your guests' phones so they can upload. (More on Wi-Fi backup further down.)
- A way to share the upload link. A QR code printed or shown on screen, plus the short link dropped into the group chat. Both come from your Gathmo dashboard.
That's it. There's no special camera, no foam microphone, no hardware to rent. If your guests have a phone with a camera and a browser, they're ready — and so are you.
How to set up a live photo wall, step by step
The steps below describe the Gathmo flow. The same logic — create event, get link and QR, open the display, share the code — applies to most QR-based tools, but the wall settings and tier names are Gathmo's.
Step 1: Create your party event and pick a tier with the live wall
Create the event in the Gathmo dashboard, give it a name, and choose a tier that includes the wall. The live slideshow is on Celebrate (€39, unlimited guests, video clips up to 10 minutes / 600 seconds); the broadcast live stream is on Grand (€79, unlimited guests, clips up to 15 minutes / 900 seconds). As soon as the event exists, you get an upload link and a QR code for it. (research-foundation/07-gathmo-product-facts.md.)
Step 2: Open the live wall on your screen
On the device connected to your TV or projector, open the wall's display view from the dashboard and put the browser into full-screen. The wall starts empty and fills as uploads arrive. Behind the scenes, Gathmo runs the wall and live stream over Cloudflare Stream, so the heavy lifting isn't happening on your laptop. Do this part before guests arrive so the screen is glowing and ready — an empty wall with the QR code on it is itself the invitation to start uploading.
Step 3: Share the QR code and short link with guests
Guests reach the wall two ways, and you want both running:
- The QR code, printed and placed where people gather (entry, bar, tables — sizing tips below).
- The short link, dropped straight into the party group chat for anyone who'd rather tap than scan.
When a guest scans or taps, they land on the upload page in their phone's browser. No app to download, no account to create — Gathmo issues an anonymous, event-scoped guest token that lasts a few hours, so they go straight from scan to upload. That frictionlessness is the whole point: every extra step between "scan" and "uploaded" is a guest you lose.
Step 4: Test it before the doors open
Scan your own QR code with your own phone, upload a test photo, and watch it land on the wall. Check the timing, check the rotation, check that a phone on mobile data (not just your home Wi-Fi) can reach it. Two minutes here saves you from discovering a problem at peak volume. The same rule applies to the printed code itself: always scan a test print from the distance and lighting you'll actually use before you print a stack of them (Uniqode QR best-practice). A code that scans perfectly on your monitor can fail on glossy stock under colored party lighting.
Step 5: Let the night fill it up
Once it's live, the wall runs itself. Photos rotate on as guests upload; the screen becomes the centerpiece. Your only job now is moderation — which is the next section.
How to keep the wall clean: moderation settings
A wall on a big screen is a wall everyone can see, so you decide what reaches it. Gathmo gives you AI moderation plus a human review queue (visual content screened automatically, with a queue you can review), available on the paid tiers. (research-foundation/07-gathmo-product-facts.md.)
There are broadly two ways to run it:
- Auto-publish — uploads appear on the wall automatically (with AI moderation catching obvious problems). Best for a relaxed crowd you trust, where speed and spontaneity matter more than control. The wall feels truly live.
- Manual review queue — uploads wait in a queue until you (or a co-host) approve them. Best for bigger or more public nights, or any event where a single bad photo on the screen is a problem. Slower, but nothing reaches the wall you haven't seen.
A simple rule: the more public the room and the bigger the screen, the more you lean toward the review queue. For a close crew in someone's living room, auto-publish keeps the energy up. For a packed venue or a club night, queue it.
Where to put the QR code so people actually scan it
A live wall is only as good as the number of people uploading to it, and that comes down to whether they can find and scan the code. QR scanning is mainstream now — 68% of consumers used a QR code in the last year (TEAM LEWIS, 2024), and 86.66% of UK and European smartphone users have scanned at least one, with 36.40% scanning at least one every week (MobileIron/Ivanti). Your guests know how. Make it easy for them with placement and sizing that work in a real room.
Size it for the scanning distance. The rule of thumb is the 10:1 ratio — the minimum code size is roughly the maximum scan distance divided by 10 (Uniqode). In practice:
- Table cards / tent cards (scanned from a seated 30–50 cm): around 3–5 cm.
- A5 stands and flyers (scanned from ~40–70 cm): around 4–7 cm.
- Posters and A-frame stands (viewed from ~1–2.5 m): around 10–25 cm.
- A stage banner or large-format print (read from ~8–10 ft): an 8–12 inch code.
(QR sizing: research-foundation/12-qr-print-best-practice.md.)
Put it where people pause. Entry (so the first thing they do is join), the bar (where everyone ends up), and on tables (so it's there when they sit). Multiple codes beat one — the wall fills faster when nobody has to go looking.
Keep it scannable. A few specifics that quietly make or break the night:
- Dark code on a light background. Avoid inverting it to light-on-dark — many scanners struggle with inverted codes, and party signage loves a black background it shouldn't have here.
- Leave the quiet zone. Keep a clear margin of at least four modules of blank space around all four sides; don't let your design crowd the code.
- If you put a logo in the middle, raise the error correction. Use Level H (about 30% recovery) when you overlay a logo, so the code still reads with art over it. For a plain code, the everyday default is Level M (~15%).
- Use a dynamic QR code for your party signage, so the same printed code can point wherever you need it to — handy if you set things up days before the event.
- Export at 300 DPI or higher for anything printed close-range, and test-print before you run a stack.
(All QR specs: research-foundation/12-qr-print-best-practice.md.)
Connecting to a TV or projector: the practical bits
The wall runs in a browser, so getting it onto a big screen is a browser problem, not an AV problem. A few common routes:
- HDMI cable from a laptop to the TV or projector — the most reliable, no Wi-Fi dependency for the display itself.
- A streaming stick or smart-TV browser — open the display link directly on the TV.
- Casting from a laptop or tablet to a compatible screen.
Whatever you use, put the browser in full-screen and disable sleep/screensaver on the display device so the wall doesn't blink off mid-party.
Plan for the room's Wi-Fi. This is the one thing that actually trips people up. Your guests' phones need a connection to upload — most will use mobile data, which is fine, but a venue with poor signal can throttle the whole wall. If you can, give the display device a wired or strong Wi-Fi connection, and consider sharing a guest Wi-Fi password near the QR code so uploads don't stall. The wall's near-real-time speed depends on guests being able to reach it.
Add a voicemail booth to the same QR code
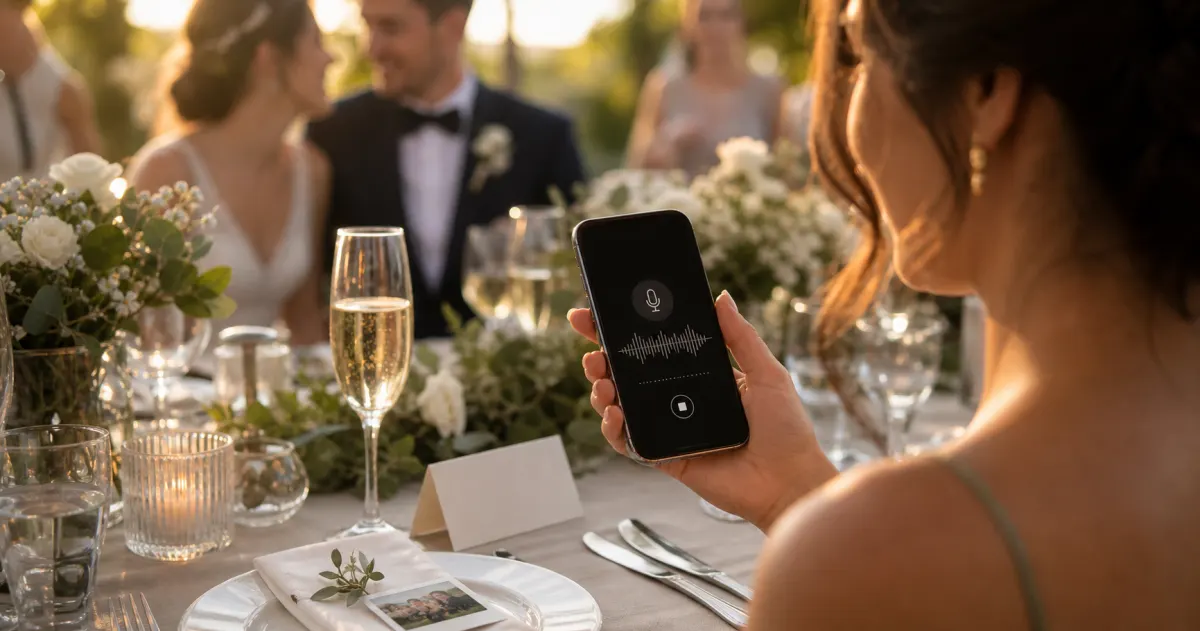
While you're collecting photos, you can collect voices too — and it's the same scan, no extra hardware. Gathmo includes an in-browser voicemail booth on every tier (recording length runs 30 seconds on Free; unlimited on paid tiers). Guests tap the voice tab, hit record, and leave a message for the group — a digital message booth with none of the foam-microphone rental. On the Grand tier (and B2B plans) those voice drops also come with automatic transcripts, so you can read them back later, not just listen.
This is genuinely rare. Among the party tools we tracked, an in-browser audio guestbook at a party is the exception, not the rule — most photo-wall apps collect images only. Pairing the wall with a voice booth means the screen captures what the night looked like and the booth captures what it sounded like. (Gathmo voicemail facts: research-foundation/07-gathmo-product-facts.md; competitor audio-guestbook coverage: competitor-data-digest.md.)
A quick note on consent and guest privacy
A photo wall on a screen everyone can see is, in data-protection terms, you processing other people's images — so a little courtesy goes a long way. Under the GDPR, a host can often rely on legitimate interest (Art. 6(1)(f)) for ordinary party photos, but the cleaner basis is a clear notice to guests at the point they upload (Art. 13), telling them what's happening, why, and that they can ask to have a photo removed. Gathmo hosts media in the EU (Frankfurt), which keeps your guests' uploads on EU infrastructure rather than shipping them overseas.
A practical tip: a short line on or near the QR sign — "Photos you upload may appear on the screen; tell the host if you'd like one removed" — covers the courtesy and the transparency in one sentence. (This is general information, not legal advice. GDPR points: research-foundation/05-gdpr-legal-register.md, Art. 6(1)(f), Art. 13.)
Create the event with live wall enabled on the right tier
On the Gathmo dashboard, create your event and confirm you are on the Celebrate tier (39 EUR) or above, which includes the live photo wall feature. The live wall display URL is in the event settings -- copy it before the party.
Set up the display device before guests arrive
Open the live wall URL in a browser on the device connected to your TV, projector, or display screen. Set the browser to full-screen mode. The wall starts empty and updates automatically as approved photos arrive -- no further interaction needed.
Enable moderation so only approved photos go live
In the event settings, enable host-approval moderation. Open the Gathmo dashboard on your phone so you can approve photos from across the room. Approved photos appear on the wall within seconds of your tap.
Place the QR code where guests can see the connection
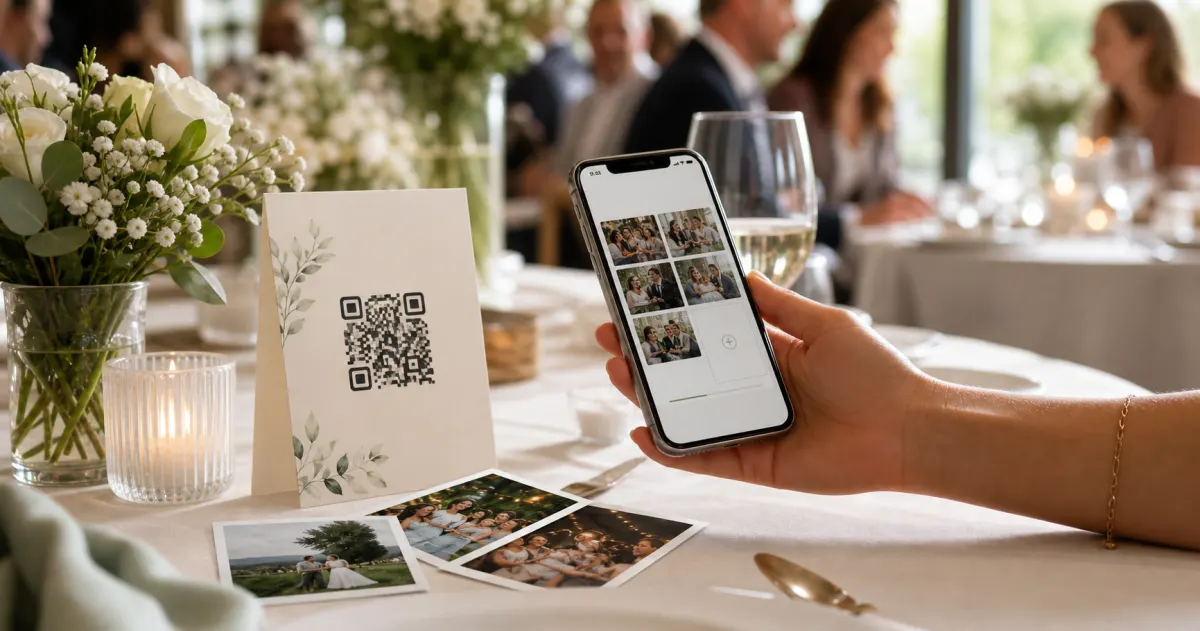
Set a QR table card at every table and a sign near the display. When guests see their photo appear on the screen immediately after uploading, it creates a feedback loop that drives more uploads throughout the party.
Frequently asked
No. Guests scan the QR code or tap the link and upload straight from their phone's browser. There's no app to install and no account to create — Gathmo issues a short-lived, event-scoped guest token, so they go from scan to upload in one step.
A guest uploads from their browser; the photo is moderated (automatically, with a human queue available) and then rotates onto the wall in near-real time. You choose whether uploads auto-publish or wait in a review queue first.
Gathmo's Free tier collects photos to an album but doesn't include the live wall. The live slideshow starts on the Celebrate tier (€39) and the broadcast live stream is on Grand (€79). If the wall on the big screen is the goal, you'll want one of those tiers. (research-foundation/07-gathmo-product-facts.md.)
Match it to the scan distance: about 3–5 cm for a table card, 4–7 cm for an A5 stand, 10–25 cm for a poster or A-frame, and 8–12 inches for a stage banner. Keep it dark-on-light, leave a clear margin around it, and test-print before you commit. (research-foundation/12-qr-print-best-practice.md.)
Yes — the in-browser voicemail booth is on every Gathmo tier, off the same QR code. On Grand and B2B plans, the voice drops also come with automatic transcripts.
Three things: a display screen (TV, projector, or monitor), a device to run the wall (laptop, tablet, or phone in landscape mode), and an internet connection. Connect the display to the laptop via HDMI or Chromecast. On the laptop, open the Gathmo live wall URL (from the host dashboard) in a browser at full screen. Guests scan the QR code from their phones, upload, and their photos appear on screen. For a casual home party, the Celebrate tier (39 EUR) with its slideshow refresh is sufficient. For a more dynamic experience where every upload appears immediately, the Grand tier (79 EUR) includes a live stream.
Four steps: (1) Open the live wall URL from the Gathmo host dashboard on your laptop; (2) Connect the laptop to the TV via HDMI or stream via Chromecast from a Chrome browser; (3) Put the browser in full-screen mode (F11 or View > Enter Full Screen); (4) Switch the TV input to the laptop source. The wall URL displays automatically and updates as guests upload. The whole setup takes under 5 minutes. The QR code for guests goes on table cards or a nearby printed sign -- not the TV screen, which is too hard to scan from typical party distances. Table cards are always the primary placement.
 Comparison
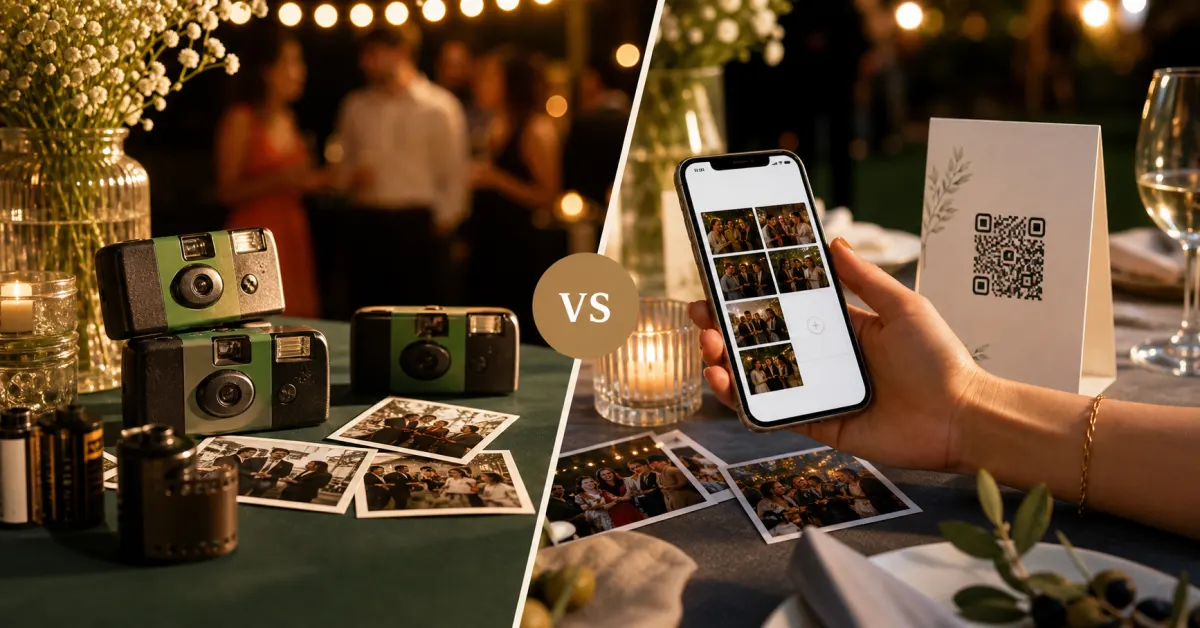
Gathmo vs disposable cameras: which is better for your party?
Disposable cameras have nostalgia. Gathmo has everything else. A head-to-head on cost, photos, sharing, and what you keep.
 Guide
GuideHow to collect photos from your event guests (the easy way)
A printed QR code on the table collects more photos than any link in a group chat -- here is why, and how to set one up in two minutes.
 Story
StoryThe most underrated wedding keepsake: guest voice messages
Guest voice messages are the wedding keepsake couples replay most -- real voices, real pauses, the things people said when they actually meant them.